Getting Started with Git for Version Control

Hello, DevOps enthusiasts! I'm Krishank, and today, we're diving into one of the most essential tools in the DevOps toolkit: Git. Git is a robust version control system that enables developers to track changes, collaborate seamlessly, and manage code effectively. Whether you're a newcomer to version control or seeking to refine your skills, this guide will set you on the right path with Git.
What is Git? Git is an open-source distributed version control system designed to handle everything from small to very large projects with speed and efficiency. It allows multiple developers to work on a project simultaneously without overwriting each other’s changes. Git keeps a record of every change made to the codebase, making it easy to track history, revert to previous versions, and collaborate on code.
Installing Git: Before we dive into using Git, let's install it on your system. Follow the instructions based on your operating system:
Windows:
Download the Git installer from the official Git website.
Run the installer and follow the on-screen instructions.
MacOS:
Open Terminal.
Install Git using Homebrew:
brew install git.
Linux:
Open Terminal.
Install Git using the package manager:
sudo apt-get install git(Debian/Ubuntu) orsudo yum install git(Fedora).
Setting Up Git: Once Git is installed, you need to configure it with your personal information. This information will be associated with your commits.
git config --global user.name "Your Name"
git config --global user.email "your.email@example.com"
Basic Git Commands: Let’s go through some fundamental Git commands to get you started.
1. Initializing a Repository: To start using Git, navigate to your project directory and initialize a new Git repository.
cd your-project-directory
git init
This command creates a new .git directory in your project, which tracks all changes.
2. Cloning a Repository: If you want to contribute to an existing project, you can clone a repository from a remote source like GitHub.
git clone https://github.com/username/repository.git
3. Checking Repository Status: To check the status of your repository, use:
git status
This command shows you the changes that have been staged, the changes that haven't been staged, and the files that aren’t being tracked by Git.
4. Adding Changes: When you make changes to your files, you need to stage them before committing. Use the following command to add changes:
git add filename
To add all changes, use:
git add .
5. Committing Changes: After staging your changes, you can commit them with a message describing what you did.
git commit -m "Your commit message"
6. Viewing Commit History: To view the commit history of your project, use:
git log
7. Creating and Switching Branches: Branches allow you to work on different parts of a project simultaneously. To create and switch to a new branch, use:
git branch new-branch
git checkout new-branch
You can also create and switch to a new branch in one command:
git checkout -b new-branch
8. Merging Branches: To merge changes from one branch into another, switch to the branch you want to merge into and use:
git checkout main
git merge new-branch
9. Pushing Changes: To share your changes with others, you need to push them to a remote repository.
git push origin branch-name
10. Pulling Changes: To fetch and merge changes from the remote repository to you r local repository, use:
git pull
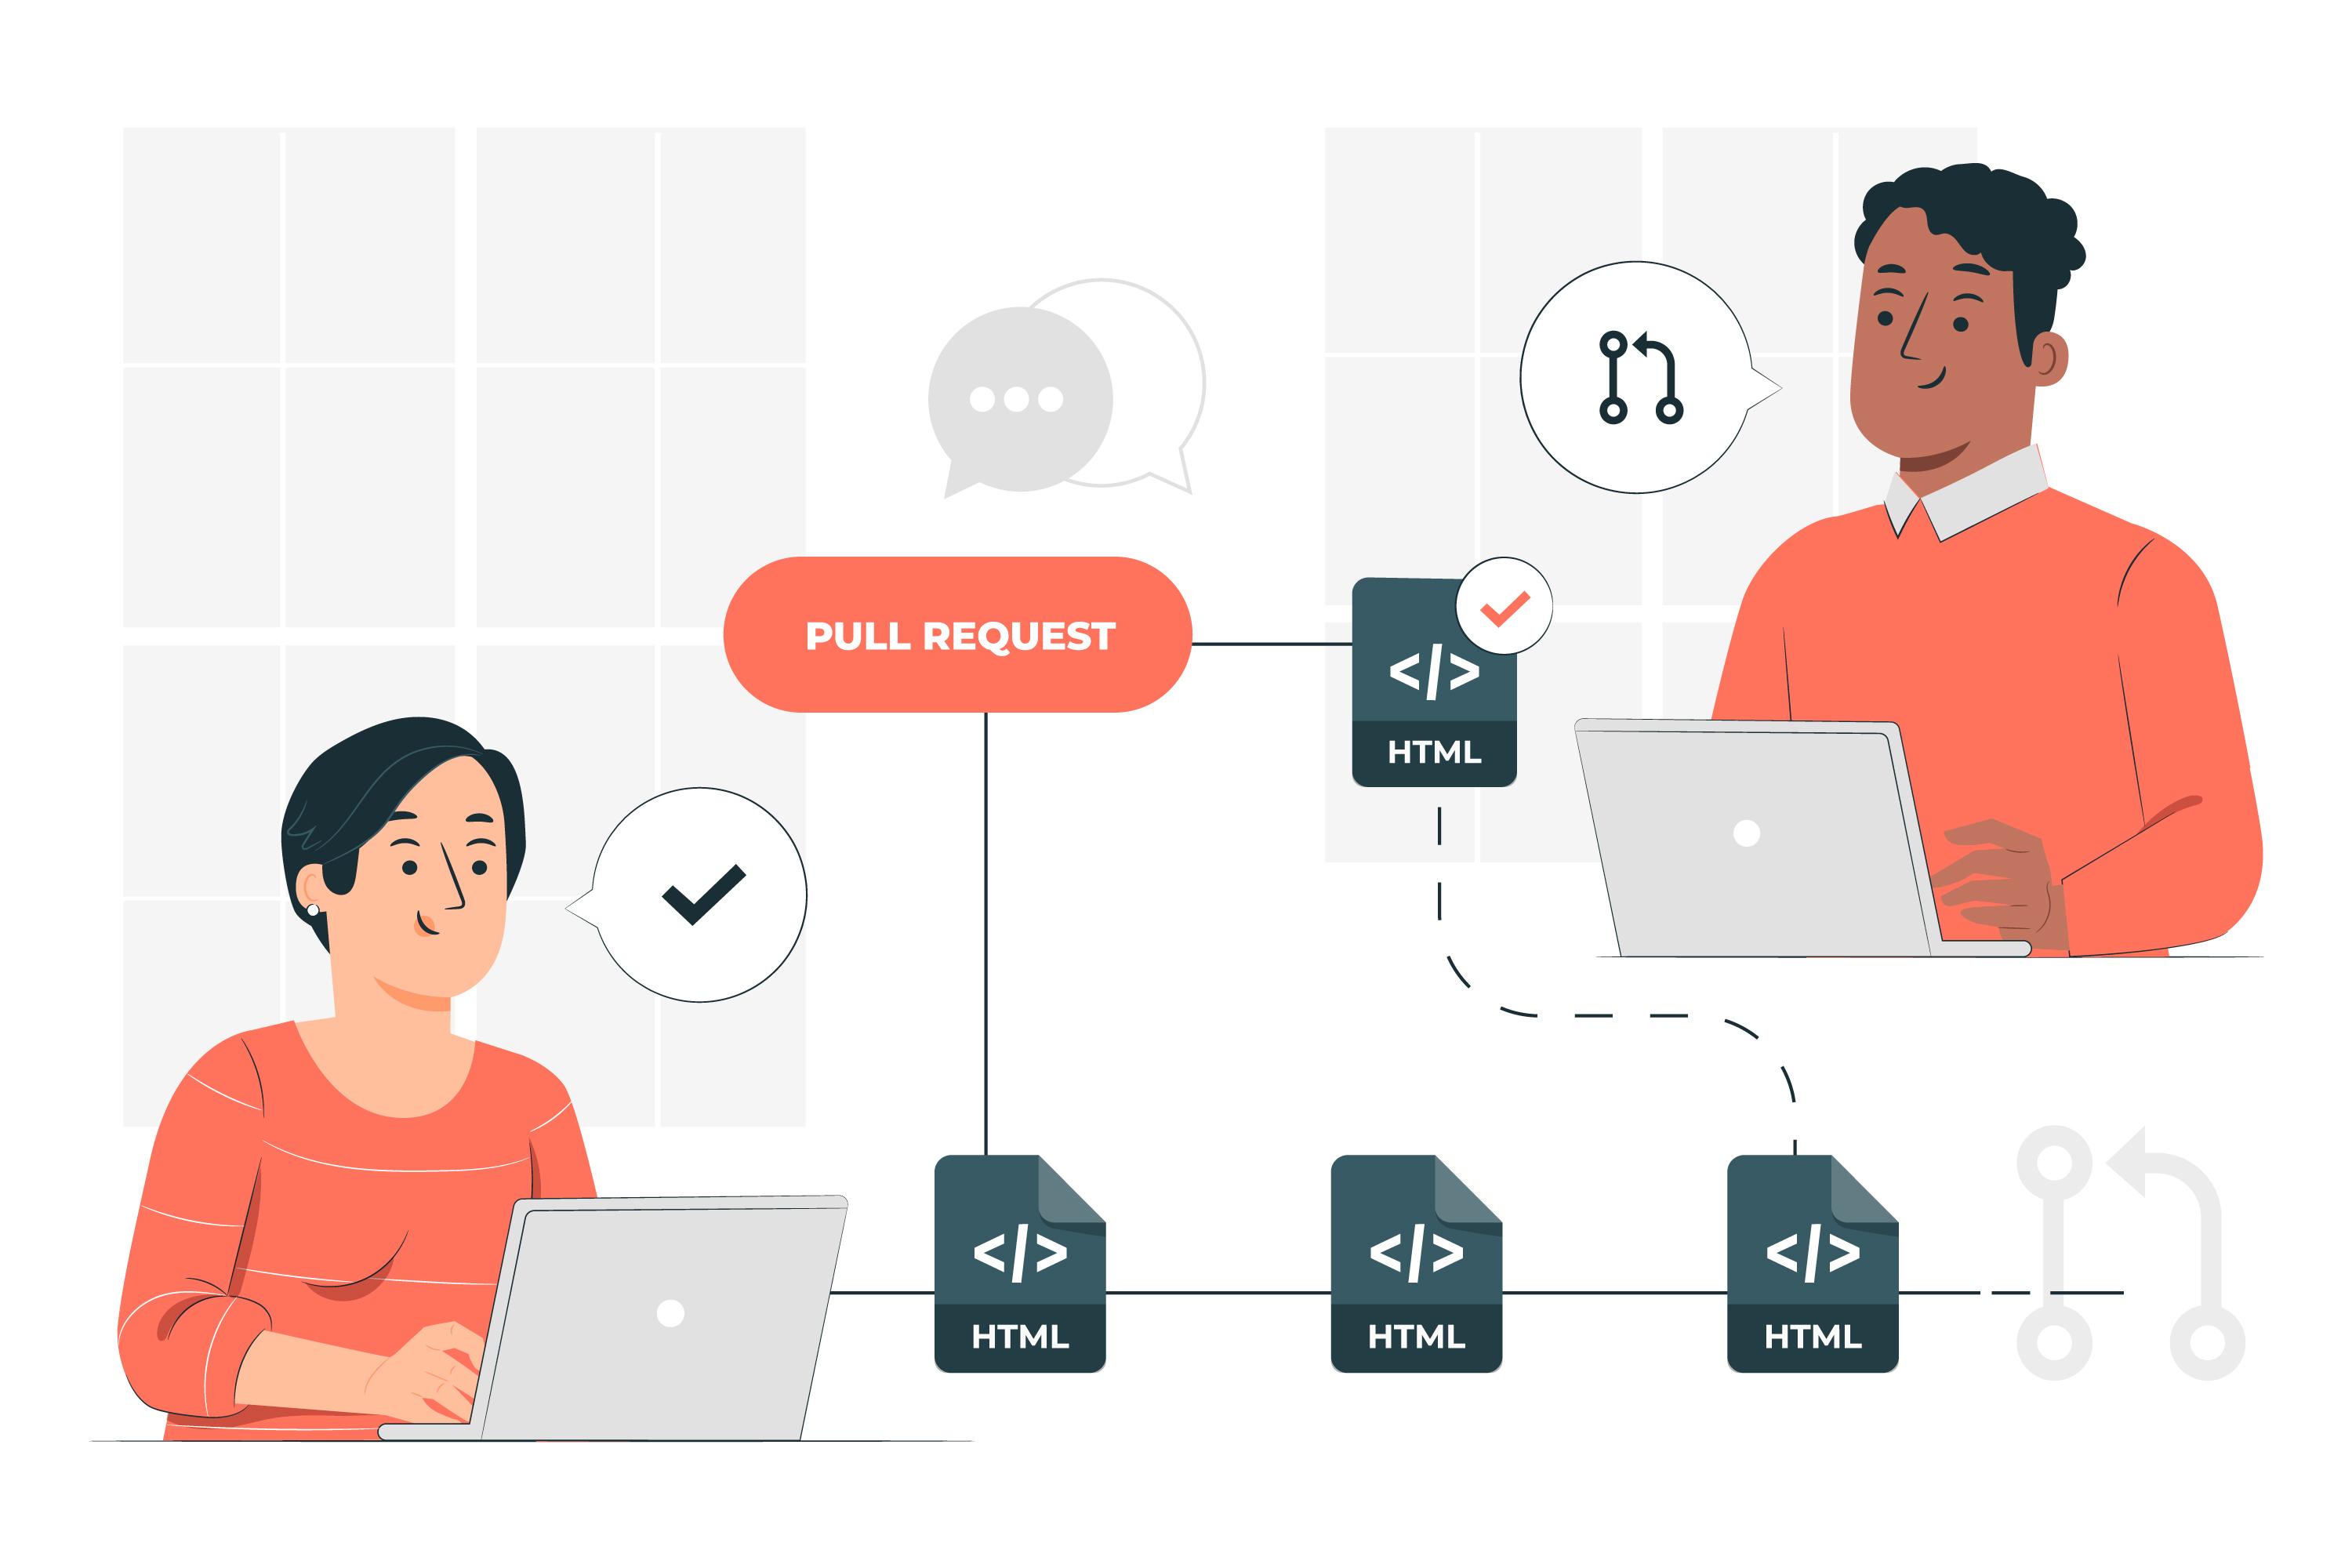
Working with GitHub: GitHub is a popular platform for hosting Git repositories. Here’s how to connect your local repository to a remote repository on GitHub.
1. Creating a New Repository on GitHub:
Go to GitHub and log in.
Click the "New" button to create a new repository.
Name your repository and click "Create repository".
2. Adding Remote Repository: After creating the repository on GitHub, you need to link it to your local repository.
git remote add origin https://github.com/username/repository.git
3. Pushing Your Code: Push your local changes to the remote repository.
git push -u origin main
Conclusion: Congratulations! You’ve just taken your first steps with Git. Version control is an essential skill for any developer, and Git is a powerful tool that will help you manage your code more effectively. In the next post, we'll dive deeper into more advanced Git features and workflows.
Thank you for reading! I hope this guide has been helpful. If you have any questions or comments, feel free to leave them below.